 PREVIOUS ARTICLE
Fall is in full swing, with pumpkins on doorsteps and crunchy leaves underfoot. We’ve been craving cozy plaids and romantic braids. Our stylist friend Reagan (a hair genius) stopped by to show us this simple braided updo. Here’s how it’s done…
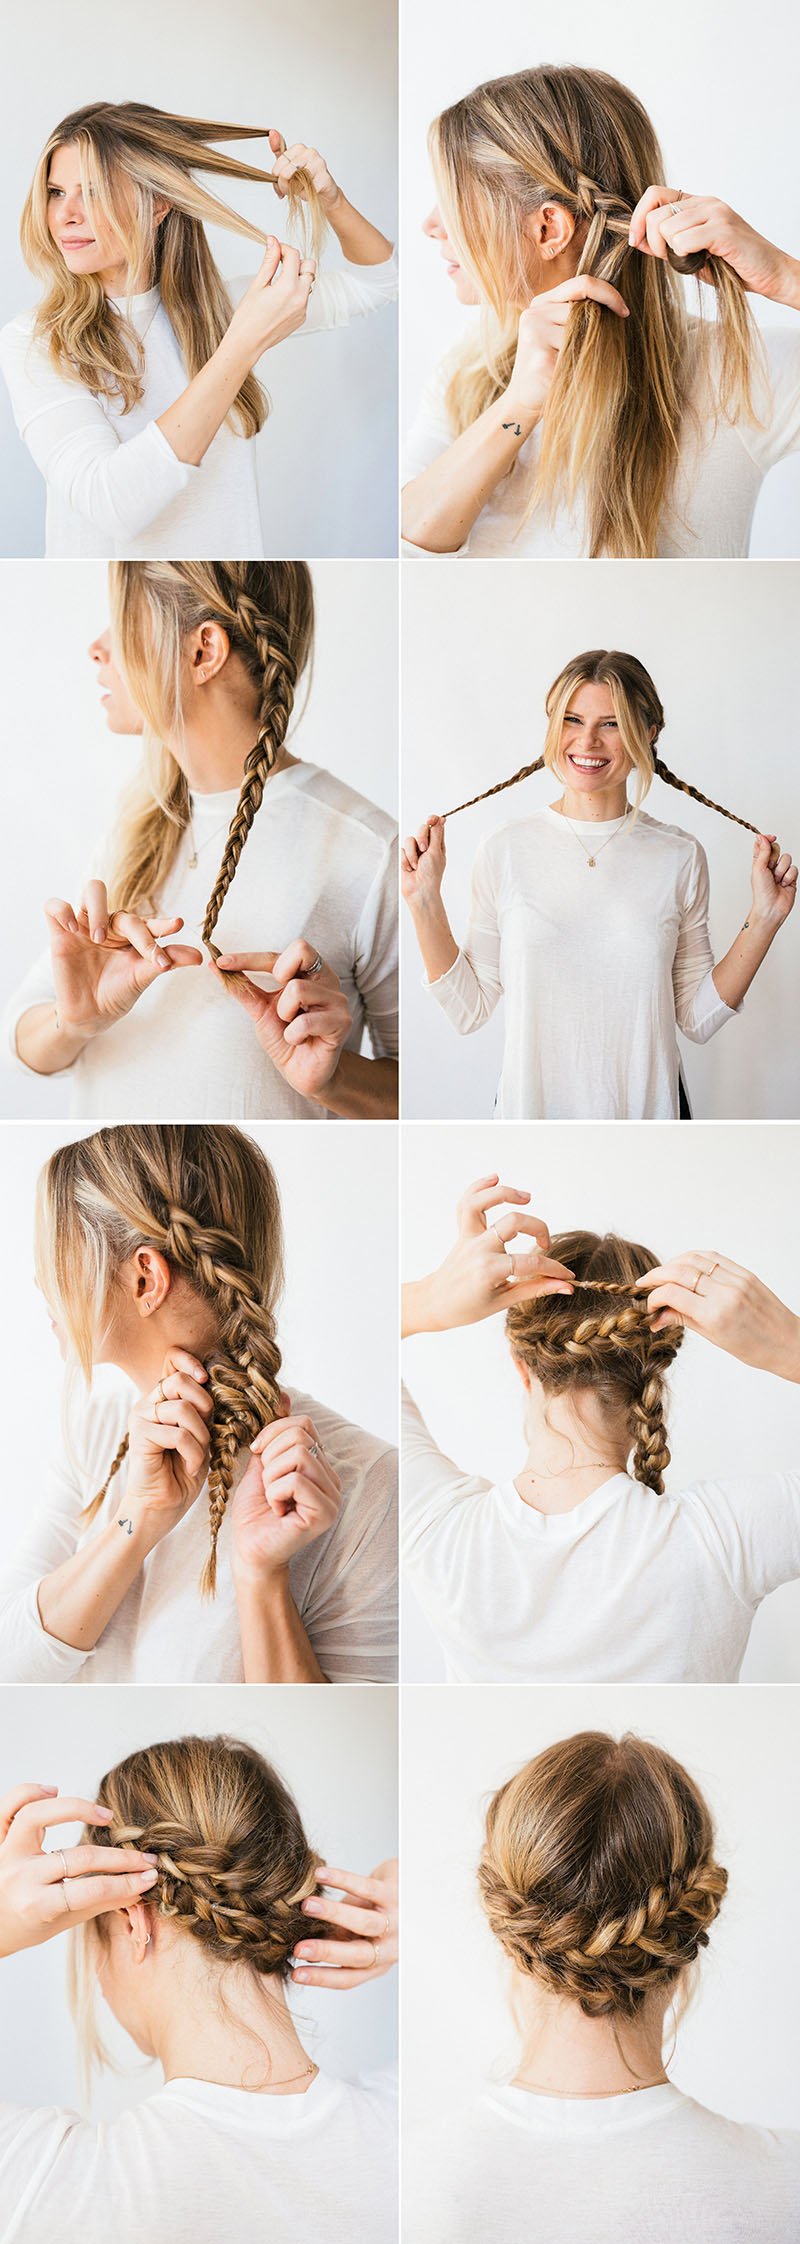
1. Part your hair straight down the middle to divide hair evenly for braids. You can use a rat-tail comb to get an extra straight part. Gather the hair from the ear forward on one side, leaving out a few pieces in the front for softness around your face, and divide it into three equal sections.
2-3. Start braiding by tucking the bottom section underneath the other two, and continue the braid (as close to the scalp as possible) by only adding hair to this underneath section, until all hair is used. Secure with a clear elastic.
4. Now repeat on the other side.
5. For a more grown-up look, pull apart the outer edges of the braids to loosen and widen them. You can also gently push hair at the roots for extra volume.
6-7. Cross the first braid behind your head so that the braid swoops down to the nape of your neck. Fold tail in half and tuck it behind the braid and secure with bobby pins or U-shaped hair pins, which are easier to hide and hold your hair better. (Remember, braids and pinning doesn’t have to be perfect. You can always adjust your pins later on for a better placement.)
8. Repeat on the other side. Once you’re finished, a light mist of hair spray will preserve your style.

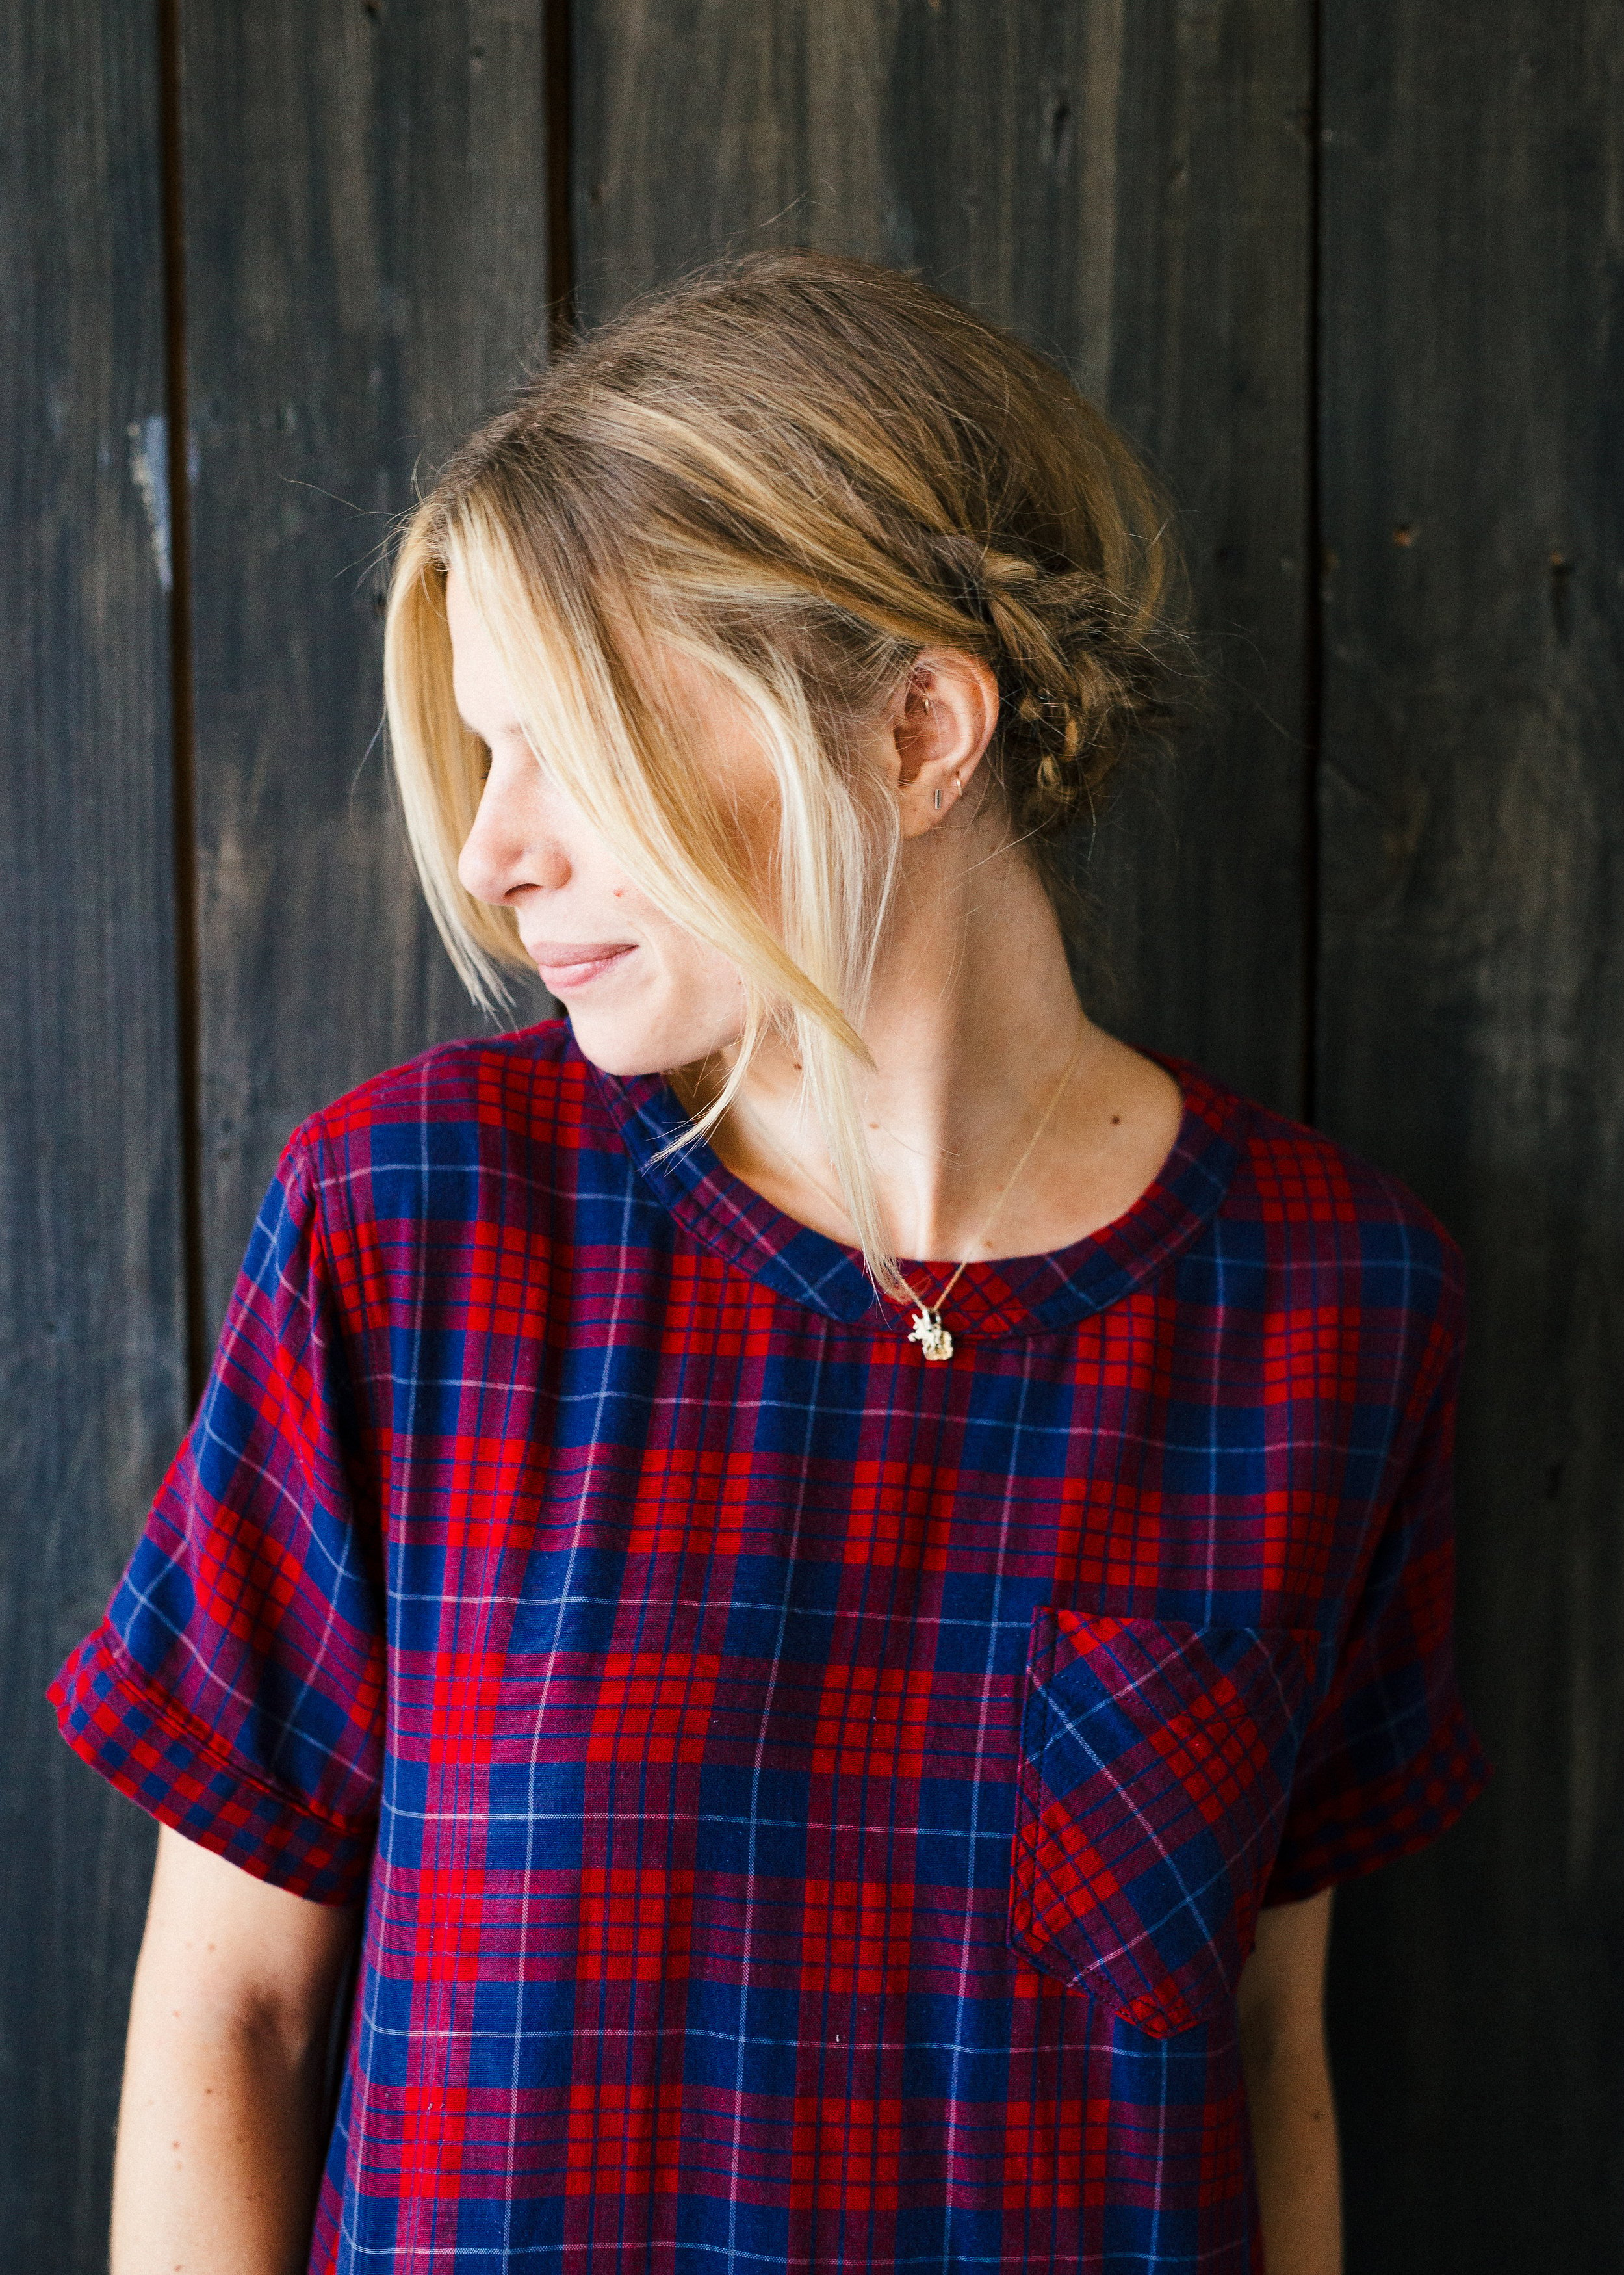
Thank you so much, Reagan! Update: For those who asked, her plaid dress is from Madewell, and it’s on sale!
P.S. More hair tutorials, including a half-up crown braid and three twisted buns.
(Photos by Nicki Sebastian for Cup of Jo. Styling and modeling by Reagan Baker. Plaid dress from Madewell.)

 58 COMMENTS