 PREVIOUS ARTICLE
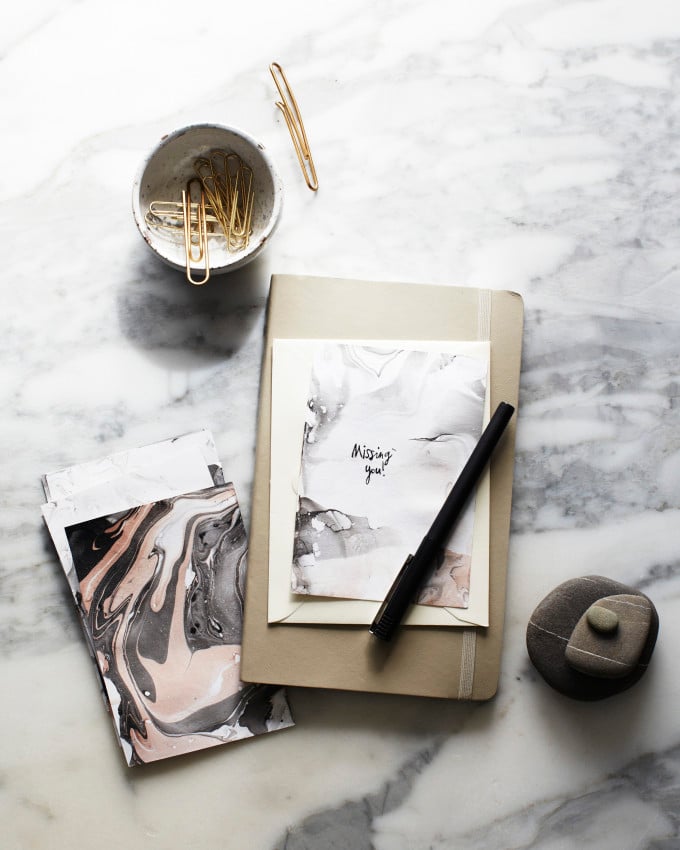
My friend Kendra made some stationery with her daughter a while back, and I was blown away by how beautiful it was. I am the world’s worst crafter, but Kendra promised me it was easy. “Anyone can do this and make it look really good,” she said. Here, she shows us the simple steps…

You’ll need:
An old dish or cake pan
2-3 nail polishes (this is great for those colors you’ll only use once or twice)
Blank notecards
Toothpicks
Paper towels
1. Get everything ready: Find a dish that’s a little bigger than the card you’re going to marbleize. Fill it with an inch or two of water. Spread out paper towels to place your wet cards on later. Shake up the nail polish and unscrew the caps.
2-3. Quickly pour a little of each polish into the water. (Here, I used pale pink and dark grey.)
4. Drag a toothpick back and forth in the polish a couple times. This will look pretty no matter what, and you can experiment to see how much you like it mixed.
5. Dip your paper quickly. Press down to submerge it just barely under the surface, for just a second. I’m only speedy enough to do three pieces of paper. (The first piece of paper that you dip will get a lot of color, the next one will get less color and the last one will get the least amount of color.)
6. Then, put the paper face up on the paper towel to dry. Blot the notecard to help the water dry off. If you want it to be completely flat, stack books on top of it while it dries. If you’d like to make more cards, just repeat the process.

Aren’t these beautiful? They’d be lovely for Mother’s Day or thank you notes. Thank you, Kendra!
P.S. How to arrange supermarket flowers, and Kendra’s beauty uniform.
(Photos by Seth Smoot and styling by Kendra Smoot for Cup of Jo.)
